Planning a destination wedding means thinking far beyond your local guest list. With travel, passports, time off work, and resort bookings on the line, your save the date isn’t just a formality—it’s the first step in ensuring your guests can realistically join you.
This guide walks you through exactly when to send them, what to include, and how to follow up so your guests feel informed (and excited) instead of overwhelmed.

When Should Canadian Couples Send Destination Save the Dates?
Send them 10–12 months before your wedding.
Yes, even if you’re still finalizing some of the details. Here’s why that timeline matters:
- Guests may need to renew passports, budget, or book time off work
- Resorts often require early commitments to lock in group rates or room blocks
- You'll want a semi-accurate guest count by 6–8 months out to finalize logistics
Read: How to Plan an All-Inclusive Destination Wedding (From Canada)
What to Include in a Destination Save the Date
Your save the date should help guests start planning—even if not everything is confirmed. Include:
- Your names and wedding date
- City and country of the destination
- Resort name (or “Resort TBA” if still being finalized)
- A simple line like: “Formal invitation and travel details to follow”
- Link to your wedding website
- Travel agent contact info (if using one)
- Optional: Note about passport requirements
Avoid mentioning your gift registry. That belongs on the main invite or your website.
Read: What Questions to Ask the Resort Before You Book Your Destination Wedding
Should You Send Digital or Printed Save the Dates?
Both have benefits—choose what suits your vibe and timeline.
Digital Save the Dates
- Fast, cost-effective, and eco-friendly
- Easier to update with new information
- Great option if you're running behind on timelines
Printed Save the Dates
- Tangible and keepsake-worthy
- Adds a polished, thoughtful feel
- Can be followed up with printed invitations later
Photographer Insight
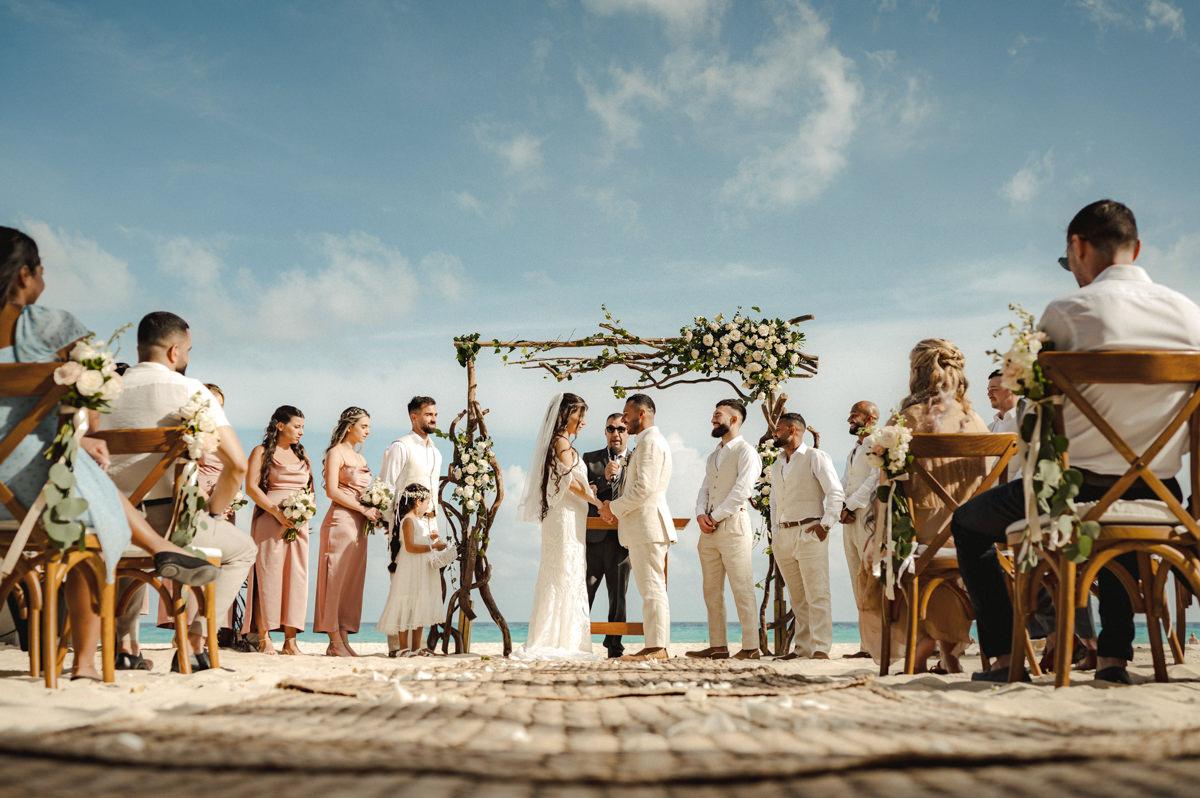
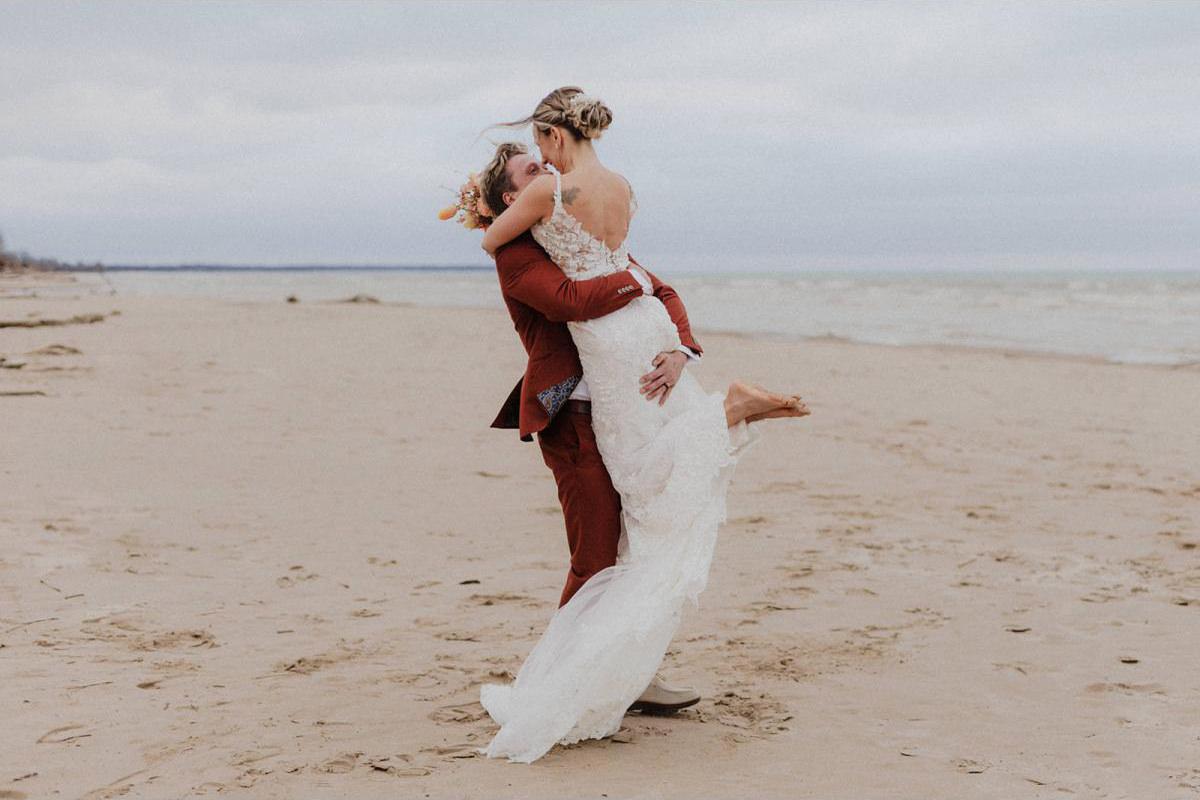
“If you’re planning a beach or jungle wedding, use your engagement photos for the save the date. It sets the mood and gets guests excited to travel.”
Want your announcement to reflect your wedding destination? Book a Canadian wedding photographer who offers engagement sessions and knows how to shoot for tropical light and scenic vibes.
How to Keep Guests in the Loop After Sending
Sending your save the date is just the beginning. Here’s how to keep communication smooth from there.
1. Launch Your Wedding Website
Include:
- Travel booking links
- Resort FAQs
- RSVP form
- Group activity schedule
- Info on local excursions, dress codes, etc.
2. Share a Travel Timeline
Break down key dates like:
- Flight availability
- Deposit deadlines
- Room block cutoffs
- Final RSVP deadlines
Read: Destination Wedding Timelines: How They Differ (and How to Plan Yours Right)
3. Use a Group Chat or Email List
Perfect for sharing last-minute updates like:
- Weather tips
- Dress code reminders
- Airport transfer details
- Required documents or vaccination info
If You're Behind on Sending Save the Dates…
Don’t panic. If you're already inside the 9-month window:
- Send a digital save the date immediately
- Follow up with a printed invitation ASAP
- Send direct links for travel bookings and RSVPs to avoid delays
Read: The Cost of a Destination Wedding vs. a Local Wedding in Canada
Want a Save the Date That Reflects Your Vibe?
Many Canadian wedding photographers include engagement sessions with destination packages. These sessions give you beautiful, on-brand images for your announcement—and help you get comfortable in front of the camera before your big day.